

Wordle in Remix: Part 10 - Error Handling

I help product teams build quality software and lead engineering efforts. Currently working at OpenSpace as a Senior Software Engineer.
This is the tenth and last article in a series where we create a Wordle clone in Remix! 💿 We went step by step, from setting up the application to creating pages and implementing game logic. In this article, we will handle any unknown errors that might be thrown in our applications and prepare views to display something meaningful to the users. Let's go!
Catching unforeseen errors
Currently, our application is relatively simple, so there should be no errors happening other than the ones we've recently covered with validation. But in real applications, that deal with more network requests or have third-party code, we cannot have this certainty. In either case, it's useful to have a safety net in place to catch any errors that we haven't explicitly handled so far.
Error boundaries
Let's see what would happen if code in any of our roots throws. We can simulate that case by adding an error somewhere in the code.
// app/routes/play.tsx
...
export default function Play() {
  throw new Error("Boom! 💥");
  ...
}
We get the following in the browser.
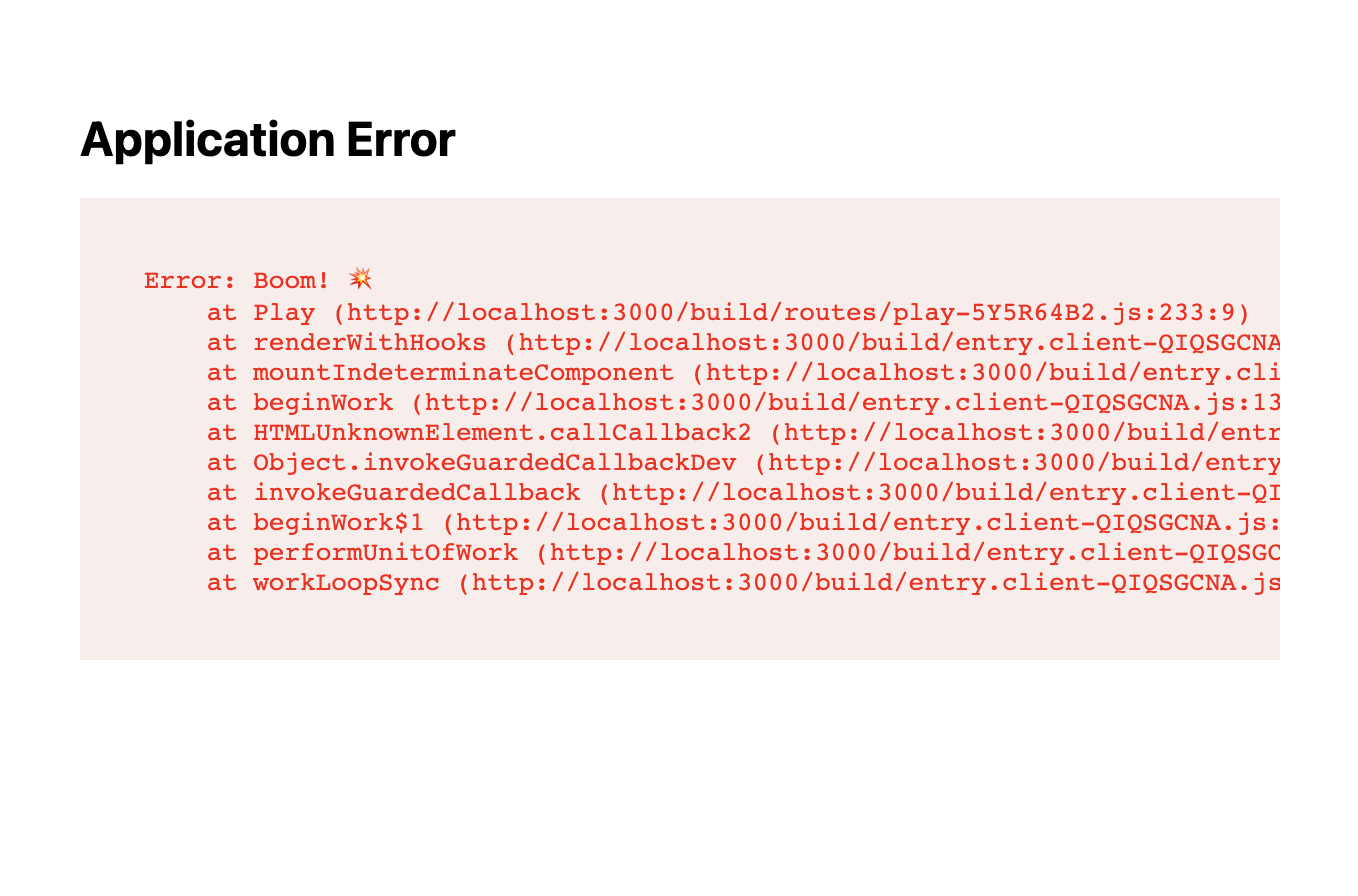
We can improve this using an Error Boundary. You might be familiar with this concept from React applications. Error Boundary is a wrapper component that catches errors that are thrown by its children (or at least most of the errors). If it catches one, it takes over and renders a fallback UI that you specified.
That concept is baked straight into Route Module API in Remix. You can export the ErrorBoundary function and when an error is caught, Remix will render the closest error boundary.
What you currently see is the default root error boundary. As with your route's views, you can define error boundaries on any level you want - the root error boundary will replace the entire view, and any nested error boundary will only replace the part of the view that's handled by a given route.
In our case, let's create an error boundary just for the /play route.
// app/routes/play.tsx
import { ErrorBoundaryComponent } from "remix";
...
export const ErrorBoundary: ErrorBoundaryComponent = ({ error }) => {
  console.error(error);
  return (
    <main className="p-12">
      <div role="alert" className="rounded-md p-4 bg-red-100 ">
        <h2 className="font-bold text-lg">Oh no!</h2>
        <p>Something went wrong.</p>
        <pre className="mt-4">{error.message}</pre>
      </div>
    </main>
  );
};
With that, we get the following.
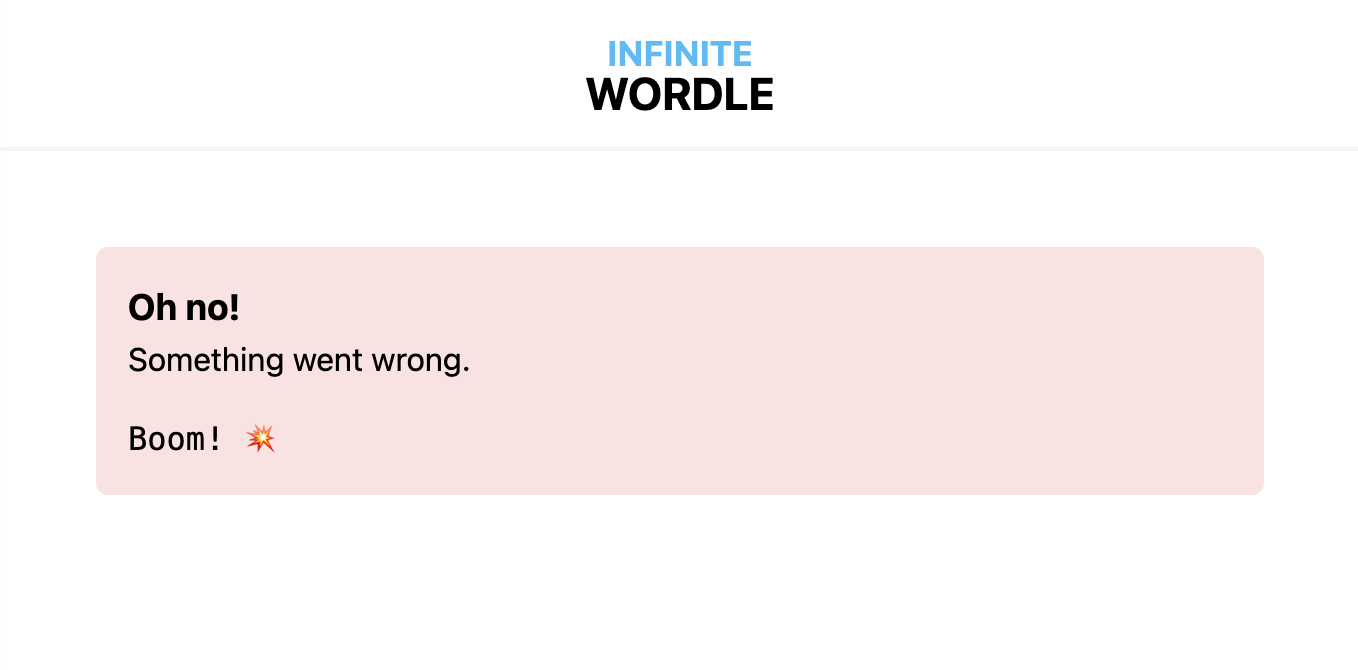
As you see, our boundary replaced only the part of the view that the route was handling - we still render the header, since it's rendered on the root level.
That's how we can use error boundaries to handle unexpected errors. 🥳
Page not found
The last thing that we will add to our application is a custom 404 page. Remix by default gives us a simple page for handling 404 - you might see that by entering any URL we don't have a module for.

There are two most common ways to implement custom 404 in Remix.
- Using a Catch Boundary - this is another part of Route Module API that allows handling error responses that are thrown on the server-side.
- Using a splat route - this is a route module that handles any URL that there are no other route matches.
They have slightly different characteristics and lend themselves to be used in slightly different scenarios. For what we need, we could use either one - since the first one is already covered by docs, we'll use the second one.
Splat routes
You can create a splat route by naming your module $.jsx - this will catch any otherwise unmatched route from that point onwards.
// app/routes/$.tsx
import { Link } from "remix";
import { styles as buttonStyles } from "~/components/Button";

export default function Fallback() {
  return (
    <main className="text-center flex justify-center">
      <div className="max-w-lg">
        <h1 className="text-4xl font-bold mt-16 mb-4">
          Something's missing...
        </h1>
        <p className="mb-6 text-lg">
          We couldn't find the page you were looking for. Maybe it was never
          here in the first place.
        </p>
        <Link to="/" className={buttonStyles({ size: "lg" })}>
          Go home
        </Link>
      </div>
    </main>
  );
}
With that, we get the following in the browser.
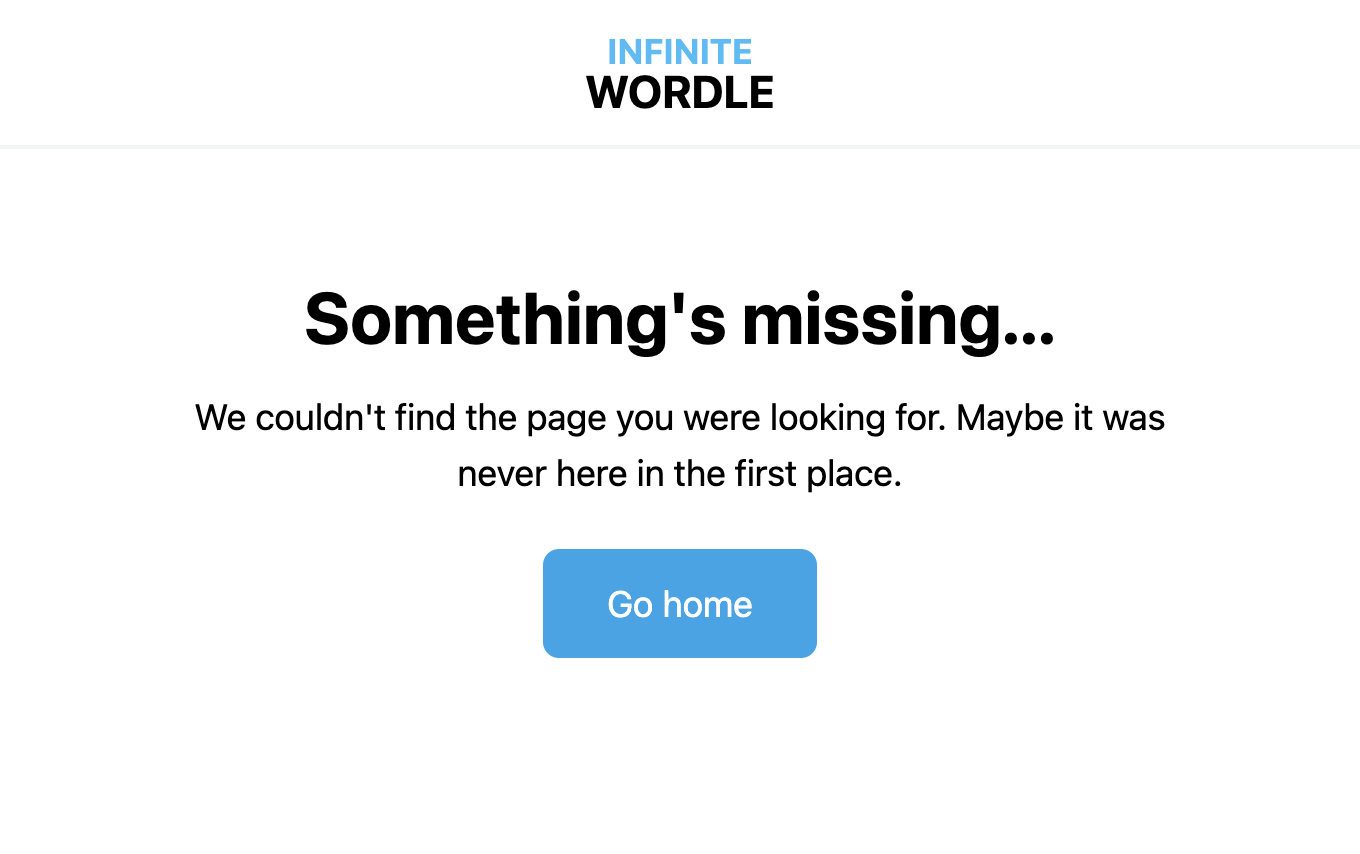
Since we created the file in the app/routes directory, we still get whatever is rendered in the root module - the header. We're really close here, but there's one thing missing. Let's take a look at the browser's network tab when we enter that page.
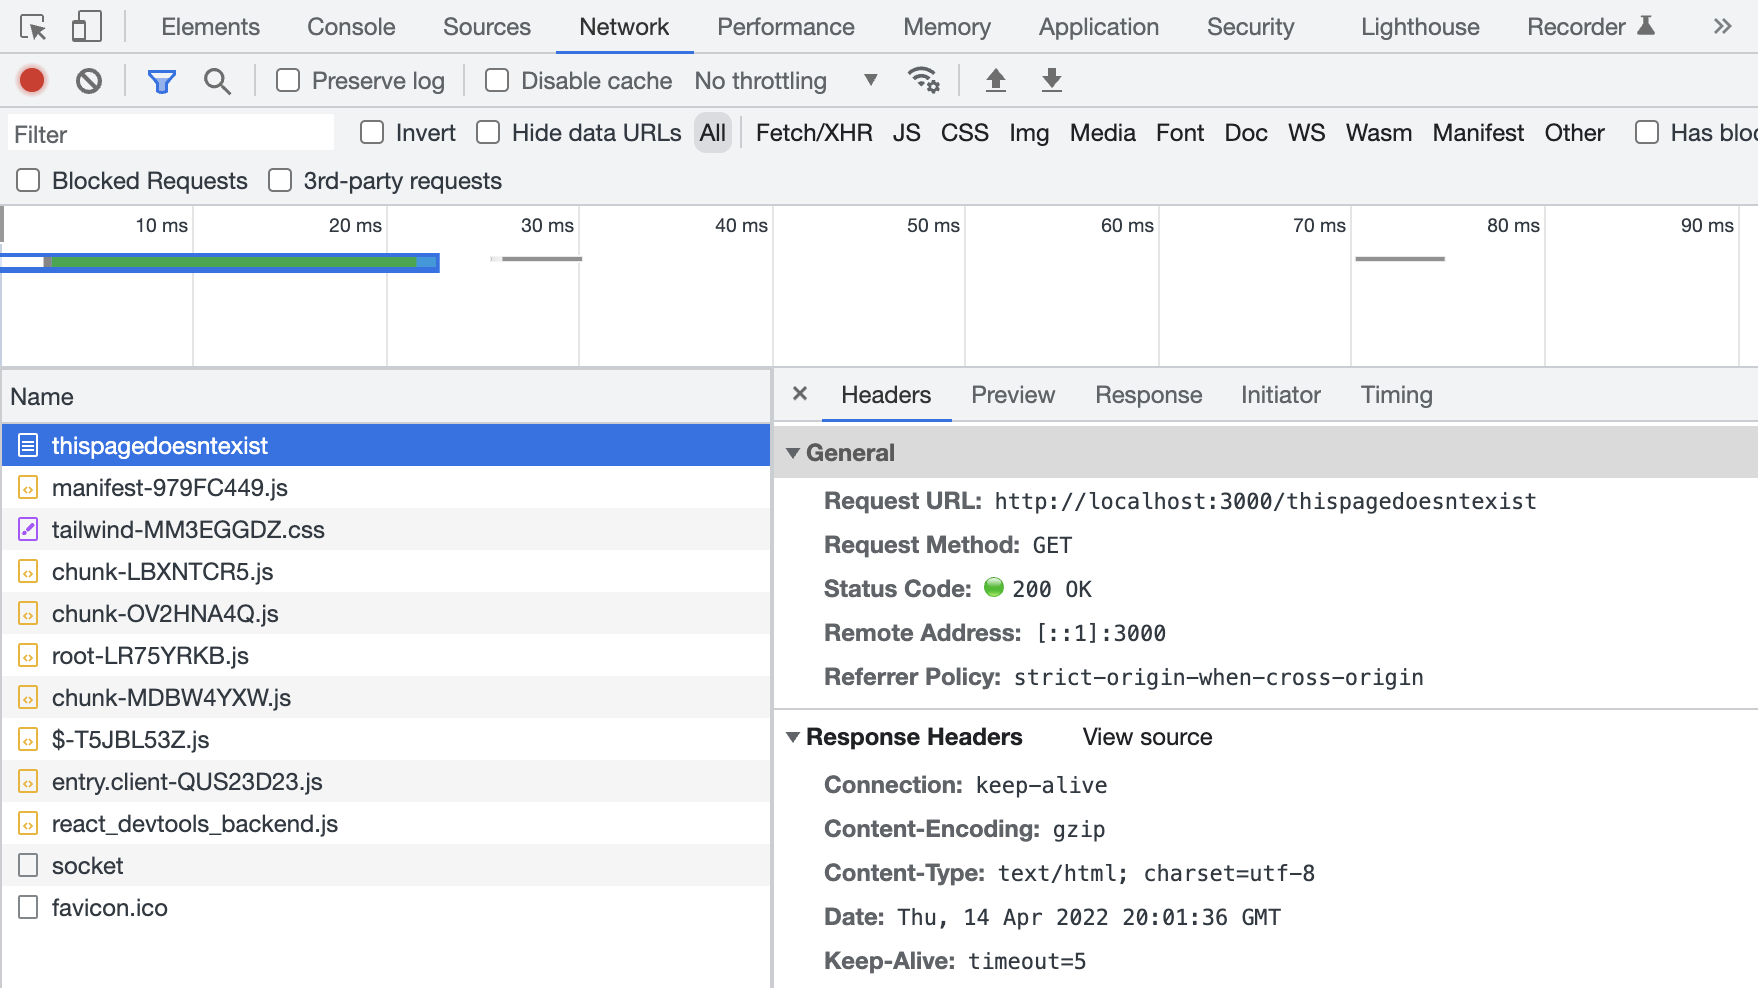
Our server returns status 200 OK which is not exactly what we would expect there. 🙃
Loaders to the rescue
Since a splat route is just another Remix route we have the access to all standard module functions. Let's create a loader for this page, where we will be able to control that.
// app/routes/$.tsx
import { LoaderFunction } from "remix";
...
export const loader: LoaderFunction = async () => {
  return new Response("Not Found", {
    status: 404,
  });
};
...
When we now take a look into the console, we should get the following.
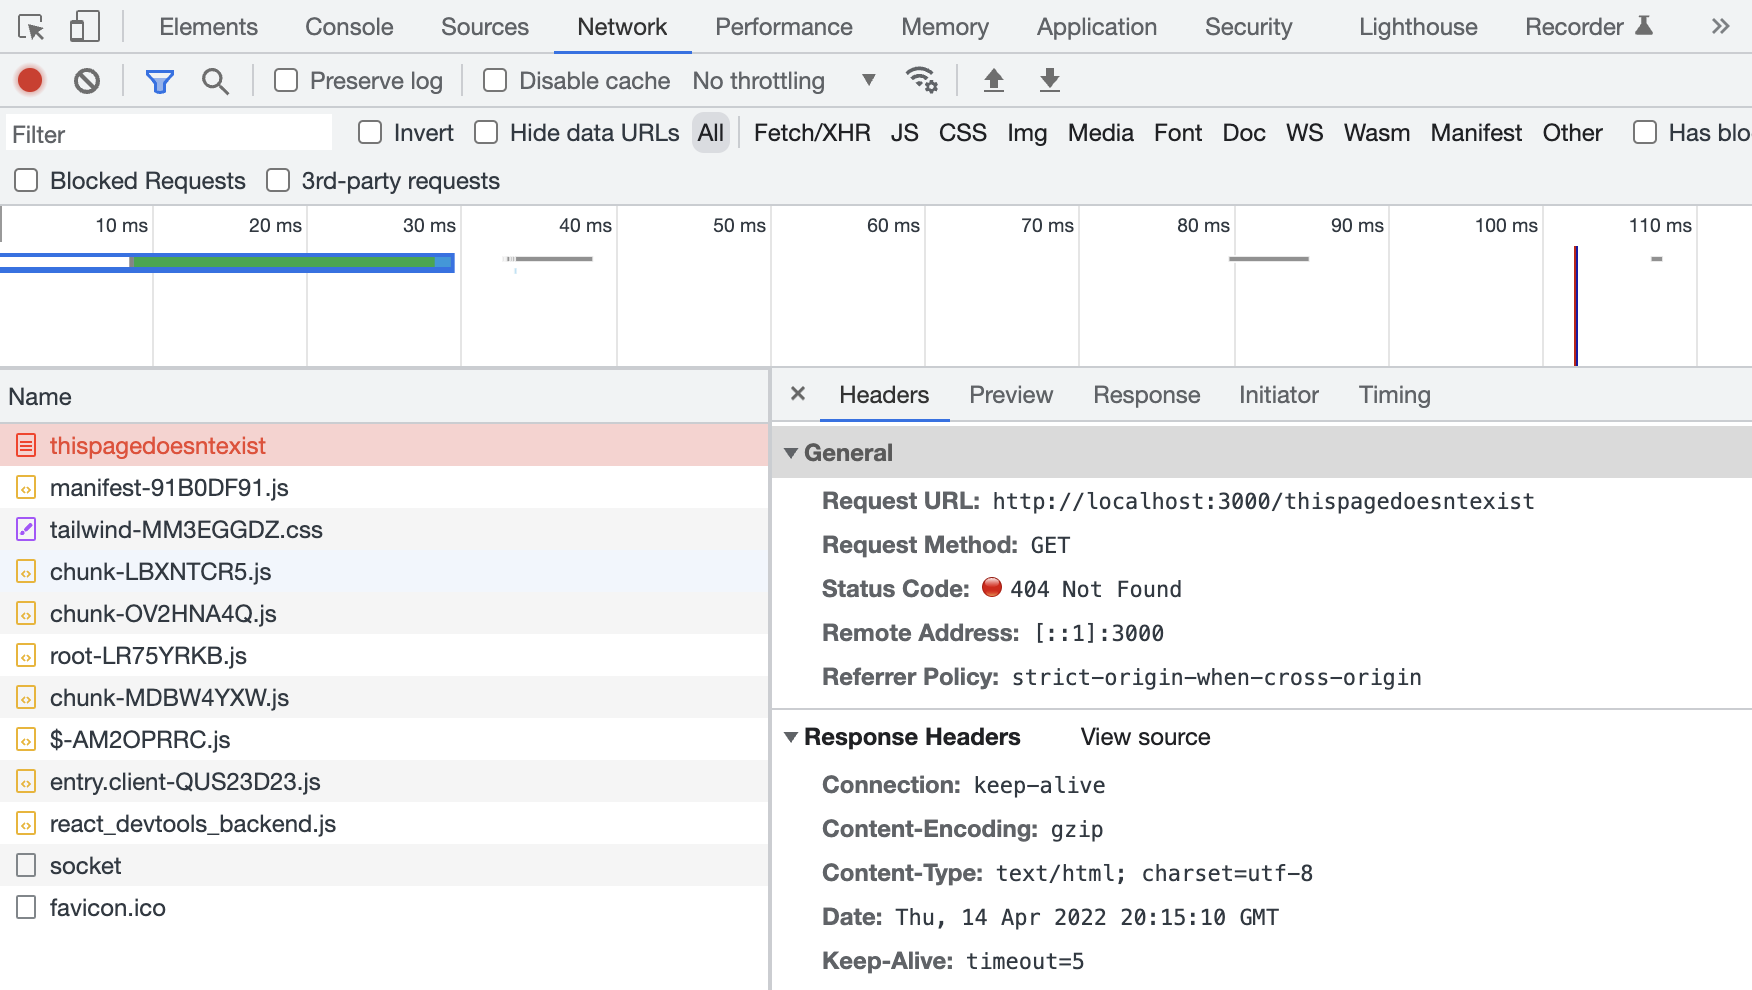
Sweet! We have our custom 404 and we return a proper HTML Response status when this page is served. 👌 This also gives you a way to load data for your 404 page.
Conclusion
That is - we've just added the last pieces around error handling. ✨ Here's a short summary of things we've gone through.
- discussed the concept of Error Boundaries in React applications
- implemented Error Boundary component
- outlined possible ways to approach 404 pages
- added a custom 404 page in our application using a splat route with a loader function
Congratulations! 🥳 I don't know about you, but it's been a heck of a ride! We've just reached the end of the series where we created a Wordle clone in Remix. We've touched on a lot of functionalities that Remix brings to the table, but there's still more to it. I hope you found this useful and that you learned something that you will use in your applications in the future. 🚀
If you've build your own Wordle clone or any other application, make sure to share that - I'd love to see what you came up with. Keep learning and keep exploring! 🧑💻
If you liked the article or you have a question, feel free to reach out to me on Twitter‚ or add a comment below!
Further reading and references
- Full code available in this repository
- Photo by Thom Milkovic on Unsplash
- Remix documentation


