

Wordle in Remix: Part 1 - Introduction

I help product teams build quality software and lead engineering efforts. Currently working at OpenSpace as a Senior Software Engineer.
What is the hottest game of 2022? It has to be Wordle - an online word game where you have 6 rounds of guessing a random 5-letter word. A new word is drawn every day.
What is one of the fastest-growing JavaScript frameworks of 2022? It is definitely Remix - a new full-stack web framework, created by Michael Jackson and Ryan Florence.
This is the first article in a series where we combine the two and create a Wordle clone in Remix! 💿 We will go step by step, from setting up the application to creating pages and implementing game logic. One change we will make is that our game will be infinite - you can play as much as you want. In this article, we will go over what you will learn throughout this series, as well as the project setup.
Here's a quick glance at what we are building! 🛠
What you will learn
Remix is a full-stack web framework that heavily leverages web fundamentals to deliver a fast, slick, and resilient user experience. Here is a shortlist of the main things you will learn by following this series. 👇
- Setting up routing.
- Handling forms and creating actions.
- Implementing validation and error handling.
- Creating and managing session.
- Improving the user experience of the application.
Besides creating an infinite Wordle clone, you will be able to use this knowledge and build awesome, fully-fledged web applications. 🚀
Technologies
As you know already, Remix will be our main technology, and this is what we will be spending the most time with. It uses React for the front-end, so you have to be familiar with it to follow the tutorial. The project also uses TypeScript for providing type safety and Tailwind for styling - for brevity we will mostly not discuss code related strictly to these technologies. You don't have to know these technologies to follow the tutorial, although being familiar with them definitely will make things easier.
The project itself has a few reusable components such as Button, Grid or Dialog or hooks such as useKeyDown. You can find code exactly like that or similar in almost any front-end application. We won't be going over the exact implementation of these, but if you want, you might have a go and implement them yourself. Otherwise, the implementation for all of these is available in this repository.
Disclaimer: There's a lot that could be improved if you wanted to publish this application in terms of accessibility or test coverage. Take these into consideration, if you're planning on releasing your application to production.
If you want to play around with the final version of our application, here is the link to the repository.
Installation & setup
With that said, let's go ahead and set up the project. First, we need to install all the tools to get us started!
Creating the project
We will start with creating a Remix application.
npx create-remix@latest
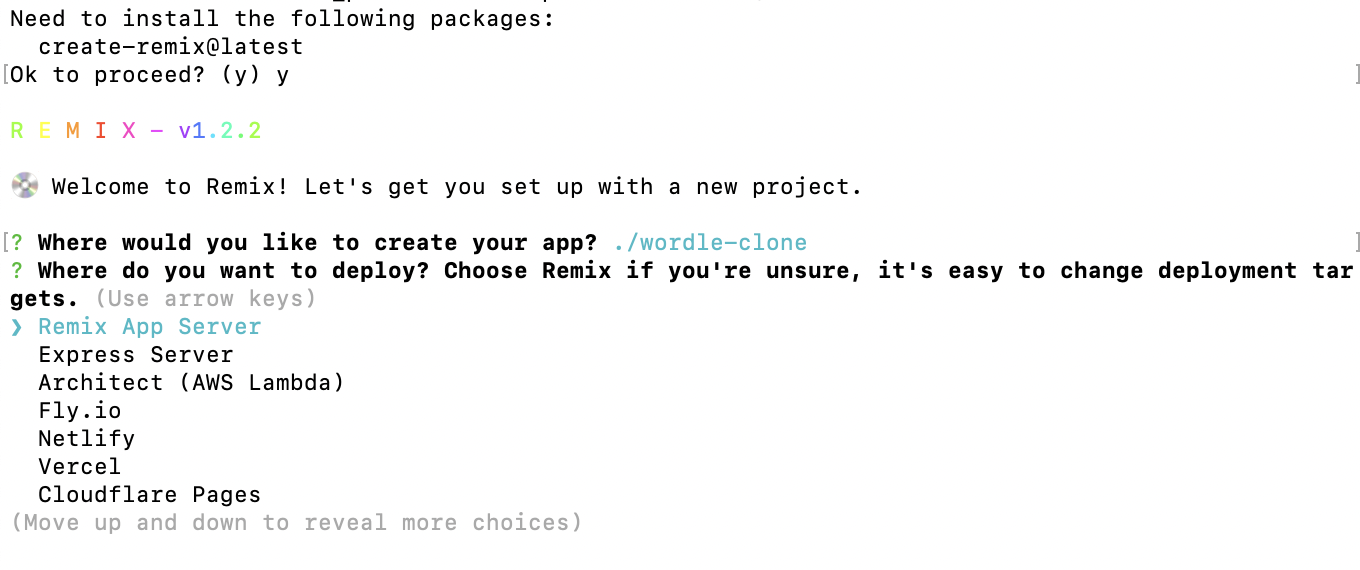
During the installation, specify the directory for the app and choose Remix App Server
for deployment (you can change this later). We will also choose TypeScript as the language. Once that's done, you can run the app.
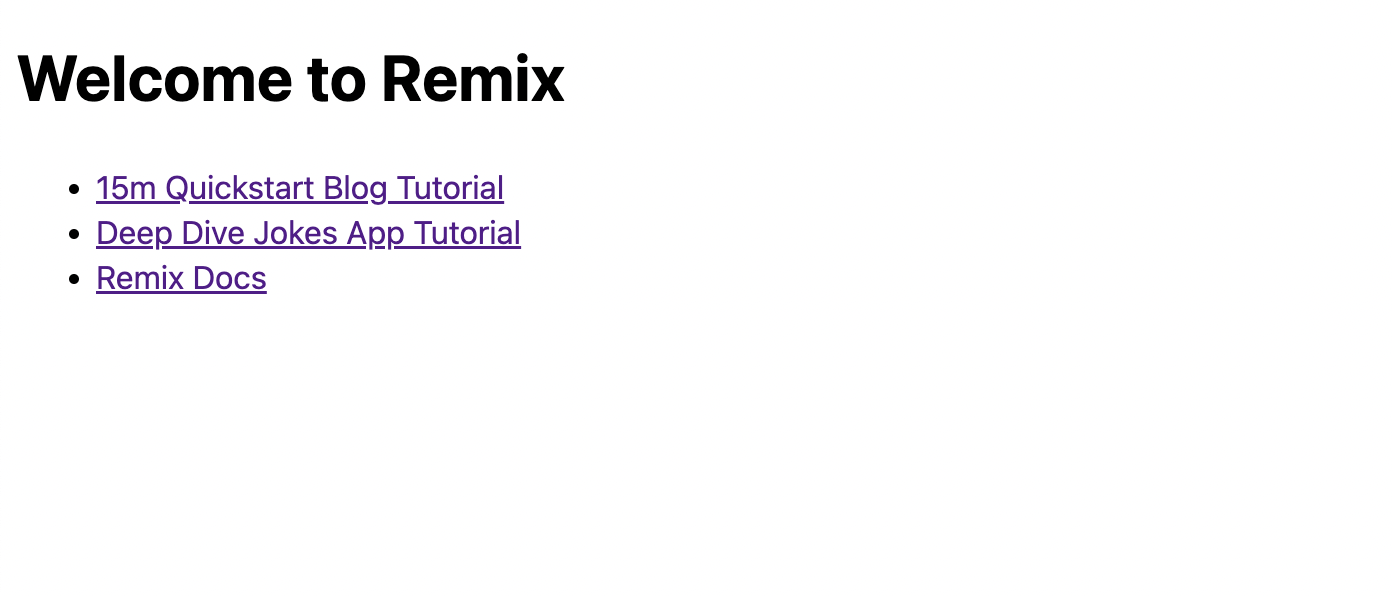
npm run dev
The start application should open at localhost:3000.
Project structure
Let's take a look at what structure we have created.
wordle-clone
├── app
│   └── routes
│   │   └── index.tsx
│   ├── entry.client.tsx
│   ├── entry.server.tsx
│   └── root.tsx
├── public
│   └── favicon.ico
├── remix.config.js
└── ...
Here are the most important files or directories:
remix.config.js- file containing build and development configuration options (you can read more on that in the documentation)/app- directory with our application's source code - we will be working pretty much exclusively in this directory/public- root directory for our browser application bundle and static assets such as favicon
As I mentioned, /app is where the application's source code is and where we'll spend the majority of the time. Let's take a look at the files there.
entry.client.tsx- entry point of the browser bundle. Typically, you only need to re-hydrate the markup that was generated by the corresponding sever entry module, which we will go to next.entry.server.tsx- entry point of the server application used to generate the HTTP response when rendering on the server (returning HTML document).
Both of these entry files are perfect for our needs, so we won't be changing them.
root.tsx- the main component of our application - basically where you render thehtmlelementroutes/index.tsx- the main route of our application, matching to/URL. We will describe the idea of route modules in the following article.
That's more or less it. Next, we'll move to add Tailwind for styling.
Styling
We will stick with the very basics that the library gives us - using the utility classes based on the standard configuration. In your application, feel free to add a custom configuration of additional classes if you want it!
Remix documentation has a dedicated section on adding Tailwind to the project, we will follow that.
First, we install the packages.
npm add -D concurrently tailwindcss
Next, let's add a configuration file to the root of our project.
// tailwind.config.js
module.exports = {
  content: ["./app/**/*.{ts,tsx,jsx,js}"],
  theme: {
    extend: {},
  },
  variants: {},
  plugins: [],
};
Let's also update the package.json to run Tailwind during the build and development.
// package.json
{
  // ...
  "scripts": {
    "build": "npm run build:css && remix build",
    "build:css": "tailwindcss -o ./app/tailwind.css",
    "dev": "concurrently \"npm run dev:css\" \"remix dev\"",
    "dev:css": "tailwindcss -o ./app/tailwind.css --watch",
    "postinstall": "remix setup node",
    "start": "remix-serve build"
  }
  // ...
}
Now, when you run the development script again, there will be a tailwind.css file in your app directory. 🎉 We want our app to serve this file across all pages, so we will import it in the app/root.tsx file and export it as a links function (we will discuss how and why this works exactly in the next article).
// app/root.tsx
import { LinksFunction } from "remix";
import styles from "./tailwind.css";

export const links: LinksFunction = () => {
  return [{ rel: "stylesheet", href: styles }];
};
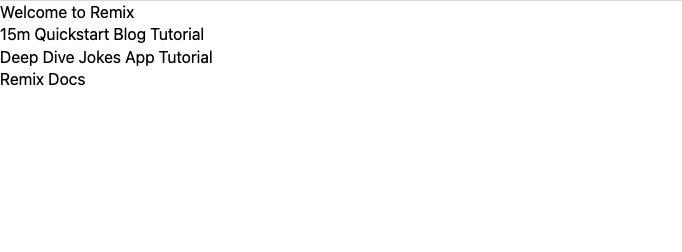
Now, when you refresh the page, you should see something like so - default styles are gone, which means Tailwind is added! 💪
Other dependencies We will need some packages along the way for icons or creating CSS classes. Let's run the following command to install them.
npm install classnames react-icons
Conclusion
Awesome, you've successfully created a project! ✨ Here's a short summary of things we've gone through:
- created a Remix project with
npx create-remix@latest - folder structure and project entry files (browser and server)
- added Tailwind to the project
Next up, we will go over a core concept in Remix - routes. We will create all the routes needed for our game and prepare the views. See you! 👋
If you liked the article or you have a question, feel free to reach out to me on Twitter‚ or add a comment below!
Further reading and references
- Full code available in this repository
- Photo by Max Kleinen on Unsplash
- Remix documentation