This is the eighth article in a series where we create a Wordle clone in Remix! 💿 We go step by step, from setting up the application to creating pages and implementing game logic. In this article, we will improve the user experience, by adding loading states and animations. Let's go, shall we?
Back to the forms
If you go back to the InputForm component, you might remember the reloadDocument property we've added. The point of it was to reload the document as a result of submitting the form (which is standard browser behavior).
If you've built any single-page application, you might be more accustomed to calling something like a Fetch API when a form is submitted yourself. That way you can make the request and receive the response without reloading the current page, which then lets you handle the loading state in any way you wish.
We can also get that behavior from Remix by removing this property. Let's do that! 👇
// app/components/form/InputForm.tsx
export function InputForm({ input, setInput, disabled }: InputFormProps) {
  ...
  return (
    <Form method="post" autoComplete="off" className="h-0 overflow-hidden">
      ...
    </Form>
  );
}
Adjusting to the new behavior
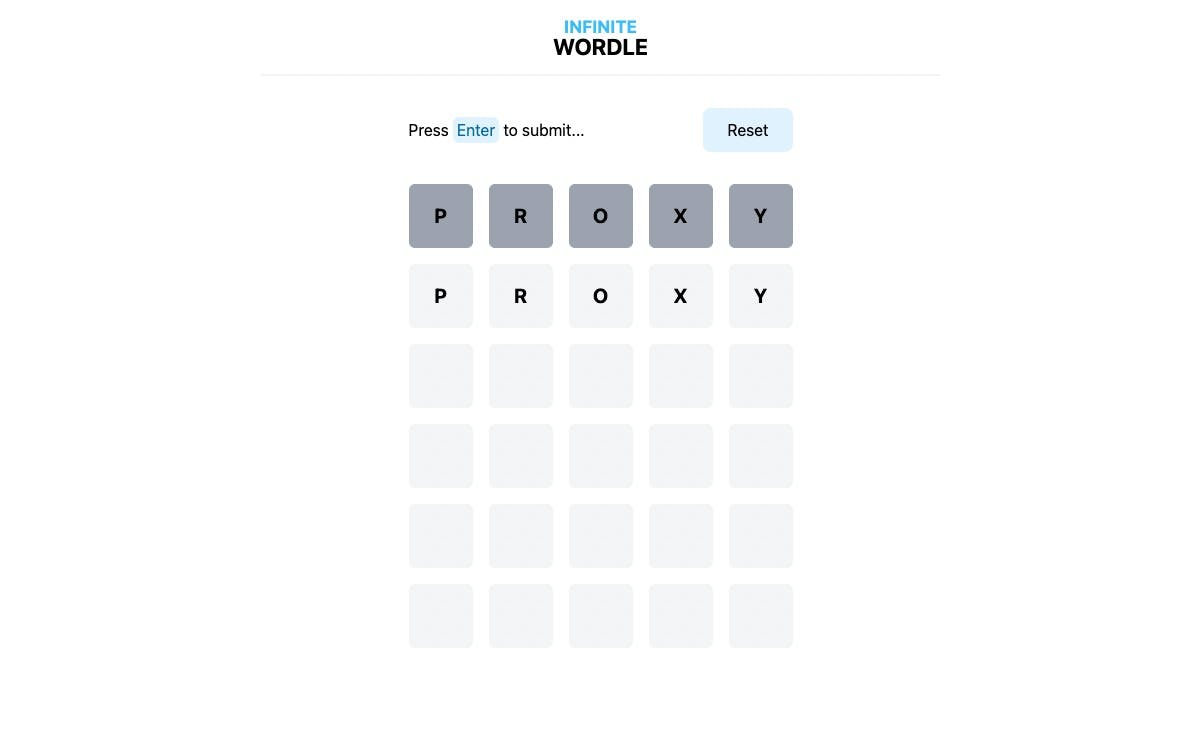
Now, when you type in a word and hit enter, you no longer see the document reloading, which is great! What you do see instead, though, is that now we get the word twice. 🤨

Before, when we were reloading the document on each submit, we got the evaluated guess from the loader, the same as we do right now, but we also lost the browser UI state, including the input state stored by React. Now, this doesn't happen automatically anymore, so we need to clear it ourselves.
// app/routes/play.tsx
export default function Play() {
  const data = useLoaderData<{
    guesses: ResolvedWordGuess[];
    status: GameStatus;
  }>();

  ...

  useEffect(() => {
    setInput("");
  }, [data?.guesses.length]);

  return (
    ...
  );
}
Now, each time the user submits a new guess that gets evaluated on the server, we clear the input value. With that, we get the proper behavior. Nice! 🙌
One last thing we need to tweak here is to make sure that we only ever render 30 letters in the grid. Let me tell you what the issue is.
With what we have now when the user takes the last guess, we receive 6 resolved guesses and we still have the client-side input state (because we clear it after we render the view in useEffect). According to the logic we have, our array created to fill the remaining part of gridItems would actually have to be of negative length. 🙃
// 30 - 6 - 30 = -6
new Array(30 - input.length - resolvedGuesses.length)
JavaScript doesn't allow for that, throwing RangeError: Invalid array length. Let's apply a simple fix that ensures that the length of this array will never be negative.
// app/routes/play.tsx
...
export default function Play() {
  ...
  const gridItems: LetterGuess[] = [
    ...resolvedGuesses,
    ...input.split("").map((letter) => ({ letter })),
    ...new Array(Math.max(0, 30 - input.length - resolvedGuesses.length))
      .fill("\xa0") //
      .map((letter) => ({ letter })),
  ];
  ...
};
Loading states
Now that we are no longer triggering page loads, we might want to disable certain parts of the UI when there's a pending action and the application is in a loading state. Remix gives us a useTransition hook to get the information needed to build pending navigation indicators and optimistic UI on data mutations (you can read more about this in the documentation).
To demonstrate how to handle a pending state, let's disable the forms that we have when there's a pending action.
// app/routes/play.tsx
import { useTransition } from "remix";
...
export default function Play() {
  const transition = useTransition();
  ...
  const status = transition.submission ? "loading" : "idle";

  return (
    <main className="my-8 mx-4">
      <InputForm
        input={input}
        setInput={setInput}
        disabled={
          status === "loading" || ["win", "loss"].includes(data?.status)
        }
      />
      <div className="flex justify-center">
        <div>
          <div className="mb-8 flex items-center gap-4 justify-between">
            ...
            <ResetForm
              disabled={status === "loading" || !resolvedGuesses.length}
            />
          </div>
          ...
        </div>
      </div>
      <Outlet />
    </main>
  );
}
When you now enter a new word and submit, you can see the reset button getting disabled (you might want to throttle your network connection to see it properly), which is exactly what we wanted! 👌
Adding animations
We can also add visual side effects such as animations or transitions to our interface. Let's look into the Tile component props.
interface TileProps {
  children?: ReactNode;
  status?: LetterStatus;
  delay?: number;
}
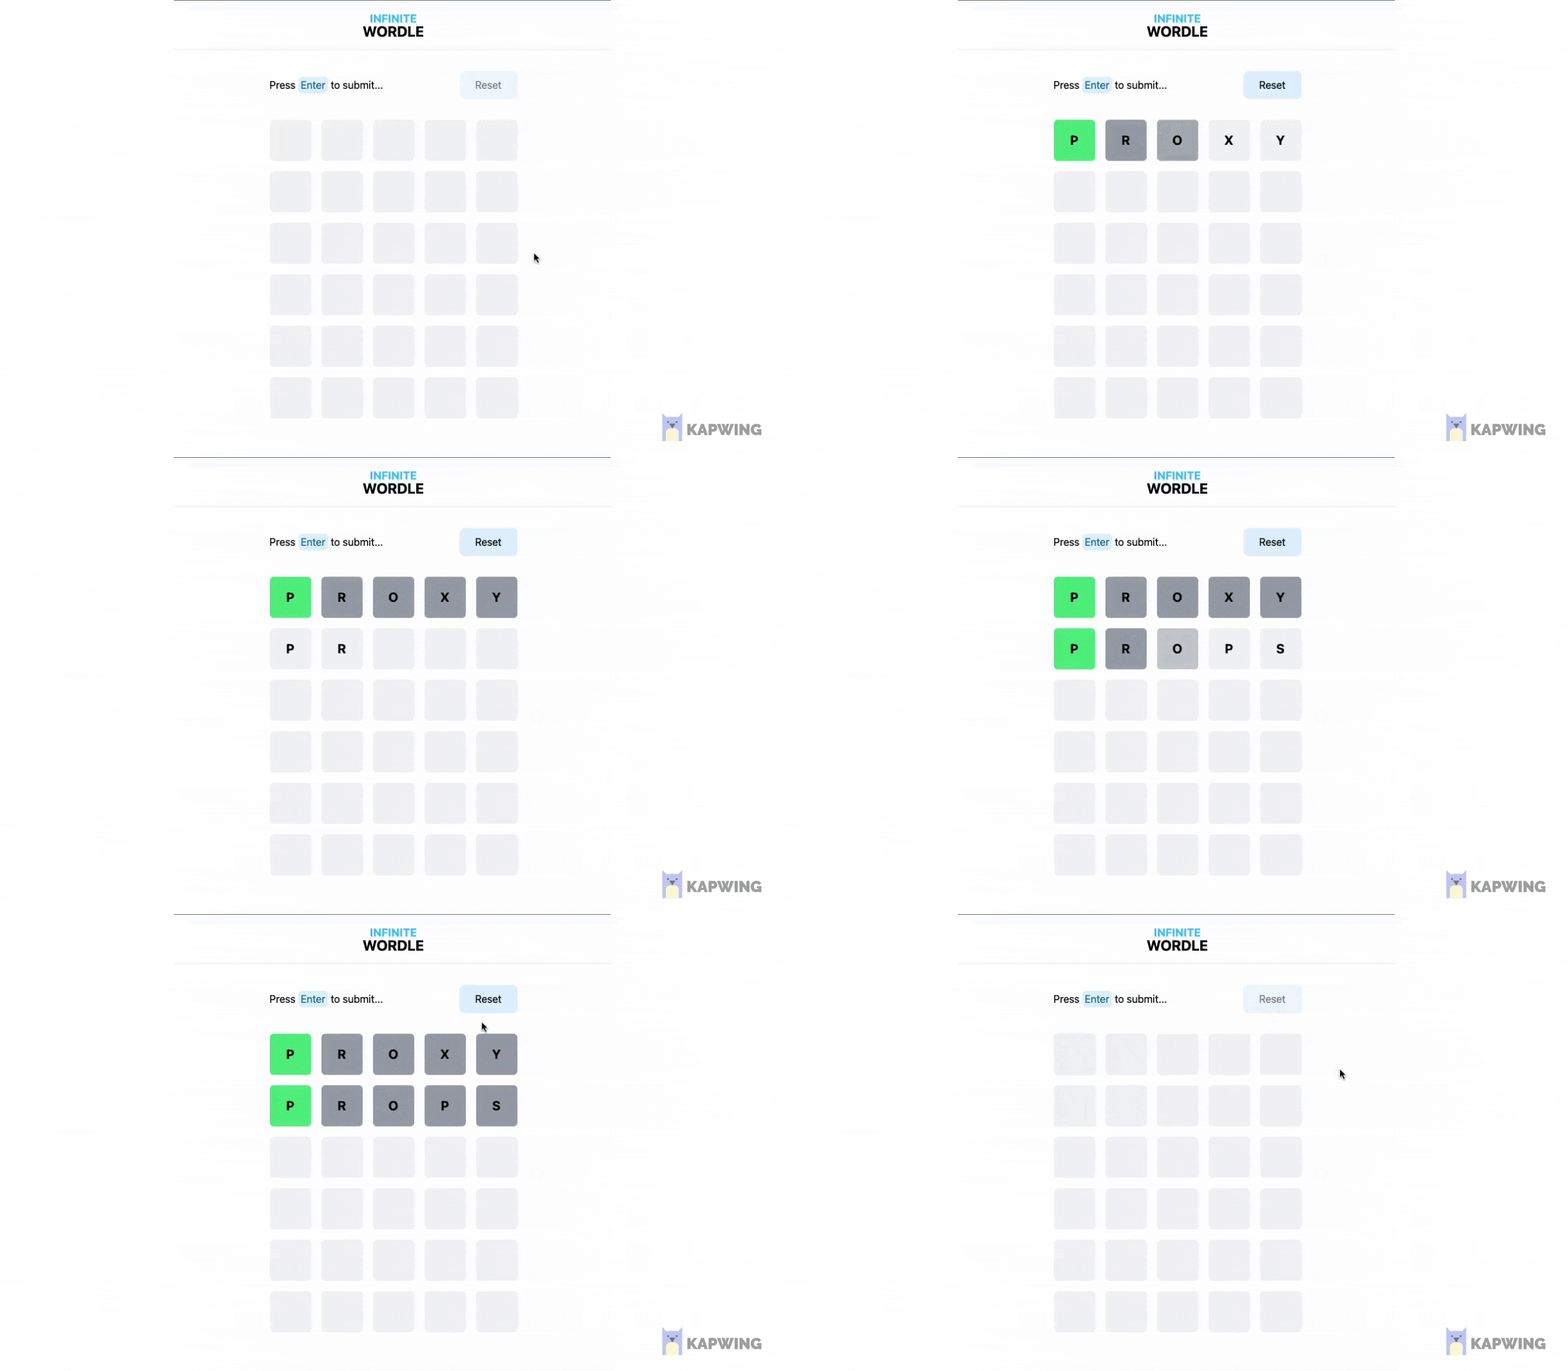
As you can see it accepts a delay prop - if you look into the implementation, it's used to control the delay of background color transition. What we want is to have the tiles change color one by one once the server gives us a new evaluated guess. Let's hop back to the play.tsx file and add the following.
// app/routes/play.tsx
...
export default function Play() {
  ...
  return (
    <main className="my-8 mx-4">
      ...
      <div className="flex justify-center">
        <div>
          ...
          <Grid>
            {gridItems.map(({ letter, status }, index) => (
              <Tile key={index} status={status} delay={(index % 5) * 100}>
                {letter.toUpperCase()}
              </Tile>
            ))}
          </Grid>
        </div>
      </div>
      <Outlet />
    </main>
  );
}
This way we apply 0, 100, 200, 300, and 400 ms delay to each tile in every row. Let's now try submitting a guess.

I think that looks nice. We were able to achieve that because there's no page reloading any more. We can freely transition and animate elements on our page also based on new data from the server. Awesome! 🥳
Conclusion
That's it! We've handled loading states and added subtle transitions to spice up the interface of our game a bit. ✨ Here's a short summary of things went through:
- changed default form behavior to fetch data without reloading the document
- handled loading state using the
useTransitionhook - added animations to the game board
Next up, we will be dealing with errors that can happen in our applications and preventing the most frequent ones by adding proper validation. See you! 👋
If you liked the article or you have a question, feel free to reach out to me on Twitter‚ or add a comment below!
Further reading and references
- Full code available in this repository
- Photo by Lance Asper on Unsplash
- Remix documentation

